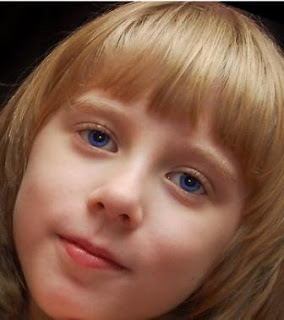
 Here's a quick and easy 3-step technique that can really give life to the eyes.
1. Use Ctrl-J to duplicate your background layer, you can rename it "pop eyes" or whatever you like.
2. Use the DODGE tool (looks like a ball with a pin stuck in it) set to a small enough size to lighten the iris, between the pupil and outer edge of the iris. Setting should be MIDTONES, with the exposure less than 20% so as not to over do it.
3. Use the BURN tool (opposite of dodge) set to a small enough size to just darken the outer edge of the iris and also the pupil. Settings should be SHADOW and exposure less than 15%.
You can also use the BURN tool to darken the eyelashes and around the edge of the lids for a bit more "pop".
Essentially, we're just using the dodge and burn tools to "paint" a little lightness and darkness contrast to key areas around the eyes. Keep in mind that when using the dodge and burn tools here, the strokes cannot be reversed...unlike the non-destructive dodge and burn method shown in an earlier post
It's great to have these tips right beside your computer so you don't have to search for them when you need them. You'll receive a FREE pack of TIP CARDS and email updates on cool Photoshop stuff when you join our TIP CARD GROUP. Sign up today, up at the top right.

No comments:
Post a Comment