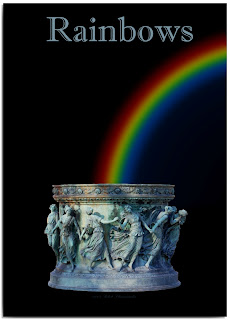
Sometimes, we gotta make our own luck!
Rainbows can be pretty elusive. But often times they can add just the right colorful something to our photographs…even if we weren't at the right place, at the right time.
Fortunately, making them is not so hard when you know the secrets!
To begin, create a blank layer above your background image.
Open the gradient tool (under the paint bucket) and then click on the arrow in the top toolbar to open up the different gradient styles. Use the arrow at top right to open another text dialog box with options.
Choose "Special Effects"
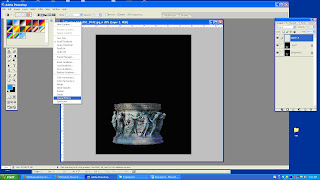
At this point you'll have just a few options. Choose the rainbow looking one at the end. It's called "Russell's Rainbow"
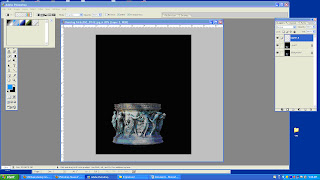
Next, click on the rainbow gradient style in the top tool bar. It will open up this adjustment dialog box for the gradient filter. Click and drag the "GRAY" slider slightly toward the rainbow colors until "LOCATION" say 75% Click "OK"
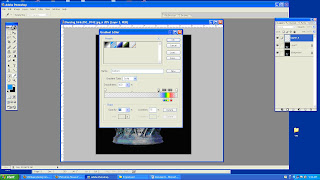
One last thing before we apply our rainbow, in the top toolbar, just to the right of the colorful gradient rainbow style, click the second black/white icon to make our gradient draw "RADIAL"
Now we're ready to draw.
Whole holding the SHIFT key to make a perfect circle, click and drag a line up your photo. Just as you'd apply any gradient. When you release the mouse and shift keys, the magic appears. A perfect circular rainbow.
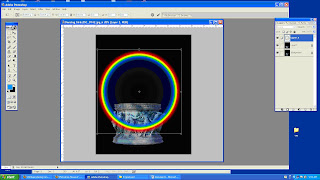
Use EDIT> TRANSFORM to create the size you need and move it into position. Once you have it positioned, we'll go ahead and remove the parts we don't want.
You can use your favorite method for removing the unwanted rainbow parts.
I prefer the LAYER MASK method of erasing, just in case I want to reposition my rainbow later, but you can certainly use the ERASER tool as well.
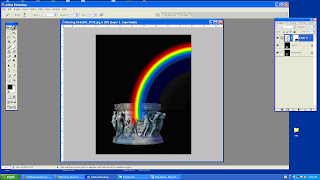
Two final steps you can use to suit your taste.
Apply a Gaussian blur filter to soften the rainbow a bit.
Change the blend mode on the rainbow layer to SCREEN.
But please, as with everything Photoshop, feel free to experiment with all the blend options available to achieve the right look for all your favorite subjects.
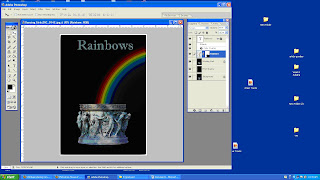
A word of caution though. Remember to account for the lighting conditions in your photo if you're going for realism. The sun should be coming from behind your camera position and be less than 45 degrees in the sky. Ideally, the scene conditions would imply that certain mix of sun and moisture that is usually present when we see rainbows.
To have more tips like these sent right to your email, be sure to sign up for my Tip Card Group.
Better yet, don't wait for tips! Get some for your own self ...right now!
Get a complete deck of "The Original Photoshop Tip Cards" at http://photoshoptipcards.com

No comments:
Post a Comment